In this manual I am going to show you how to install an image in the Dinobot 4k Twin model.
REQUIREMENTS
USB in fat32 format from 1gb to 4gb maximum to avoid problems
Program to decompress the downloaded file (winrar, winzip, etc ..)
Image that we are going to put our Dinobot 4k Twin
You can download the image through the following link and put the one you like the most.
Openatv: http://images.mynonpublic.com/openatv/6.4/index.php?open=dinobot4ktwin
Openspa: https://openspa.webhop.info/#Descarga%20de%20Im%C3%A1genes%2FDINOBOT%2FDinobot%204K%20Twin
We are going to update the image.
1- We download the image and unzip it, it will generate a folder called dinobot
2- We put the dinobot or dinobot folder in the root of the pendrive
3- With the Dinobot 4k Twin receiver turned off, we insert the pendrive into a usb slot of the receiver
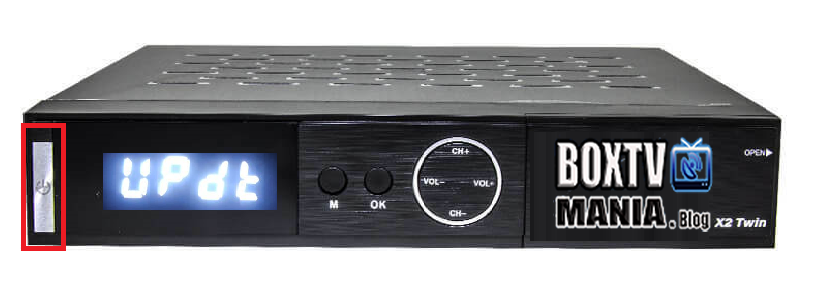
4- We turn on the current receiver and press the power button on the front of the receiver that I mark in a red box, if the usb is recognized with the image on the display the word UPDT will appear
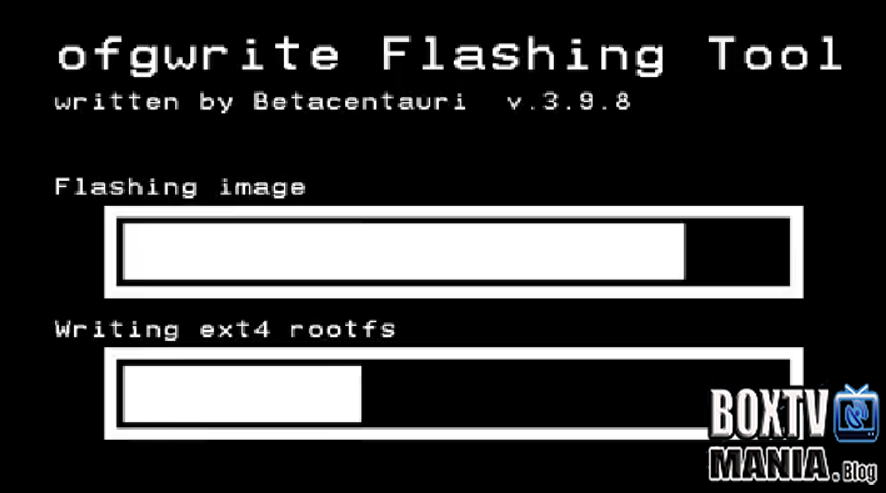
5- The loading of the image will begin, if we have the receiver connected to the TV, it will show you a screen like this.
6- Once the image is installed, the Dinobot 4k Twin receiver will restart, you can remove the pendrive and you will be able to enjoy the new image.